In an increasingly globalized and diverse world, subtitles ensure that knowledge and stories can be shared and information flows freely, no matter where people are or what challenges they face. Whether you’re looking to add a professional touch to your video content or just want to make sure everyone can enjoy your creative video, this guide will walk you through the process of adding subtitles to MP4 files.
How to Add Subtitles to MP4 Using Zeemo
Zeemo simplifies the process of adding subtitles to MP4 with its AI-powered tools, offering a service for automatic subtitle generation. Here is a simple guideline:
Step 1: Upload Your Video
To add subtitles to video using Zeemo, start by selecting the MP4 video you want to work with. You can upload videos from your computer or phone to get subtitled or transcribed.

Step 2: Generate Subtitles
Wait a few seconds for the subtitles to be automatically generated. Zeemo’s AI will then transcribe the spoken content in the video and create subtitles. This process is swift and supports multiple languages, allowing for the creation of bilingual subtitles if needed.
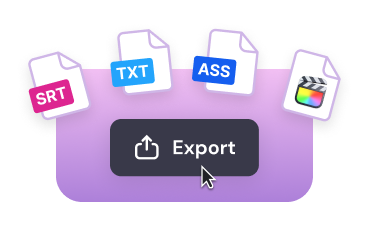
Step 3: Export Your Subtitles
Once you have completed the process of adding subtitles to video, you can easily export your video file with fully embedded captions or download the SRT caption file for further use.

How to Add Subtitles to MP4?
Step1: Prepare Your Subtitle File
Before you can add subtitles to MP4 videos, you’ll need to have a subtitle file. The most common subtitle file formats are SRT (.srt), VTT (.vtt), and SSA (.ssa or .ass). You can create these files yourself using a text editor or download them from various online sources if they are available for your video.
How to Create SRT File
Before writing subtitles, watch your video carefully. Note the start and end times for each piece of dialogue. Accurate timestamps ensure that subtitles appear and disappear at the right moments. Here’s an example of what an SRT file looks like:

Each entry consists of:
- A sequence number
- The timecode for when the subtitle should appear and disappear
- The subtitle text itself
Step 2: Choose a Video Editing Software
There are many video editing tools available that can add subtitles to MP4 videos. Some popular options include:
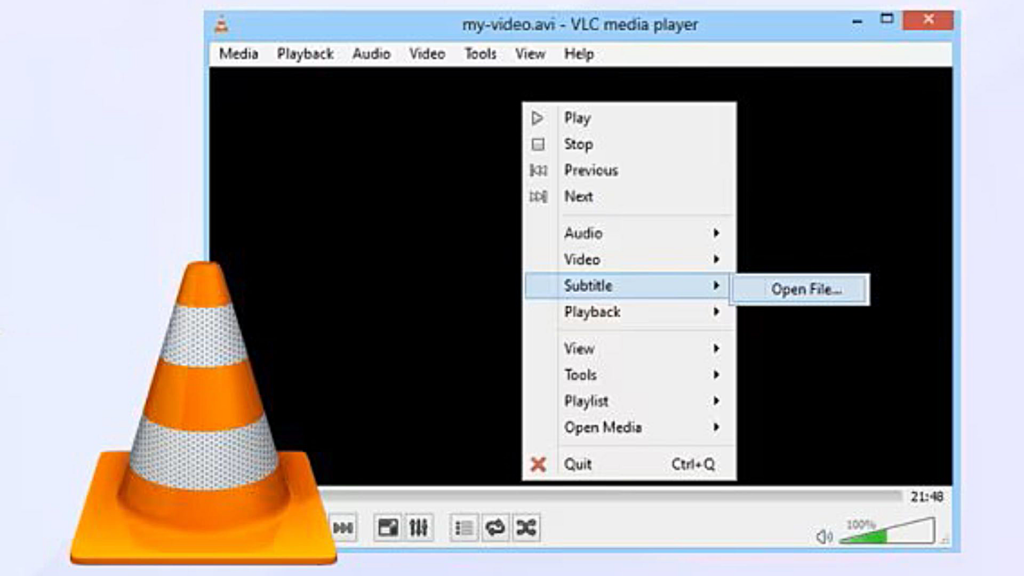
- VLC Media Player: A free and open-source media player that also allows you to add subtitles.
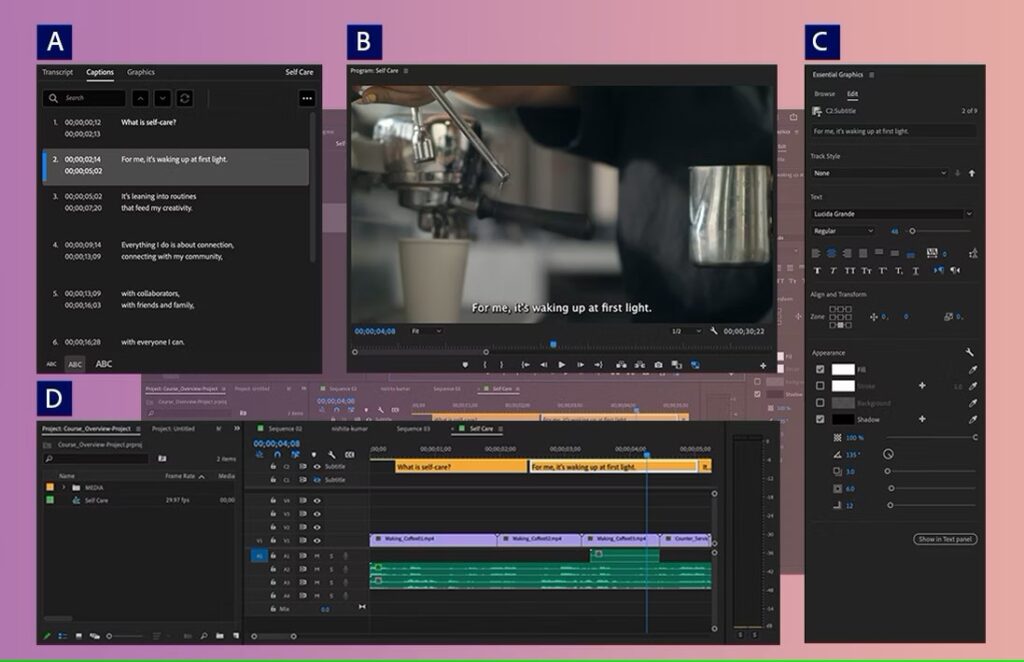
- Adobe Premiere Pro: A professional video editing software offering more advanced features.
- Final Cut Pro X: A popular choice for Mac users.
Step 3: Add Subtitles to MP4 Using Video Editing Software
- Using VLC Media Player:
- Open your MP4 video in VLC.
- Navigate to the menu bar and click on “Subtitles” > “Add Subtitle File.”
- Select your SRT file and click “Open.” The subtitles should now be visible on your video.

- Using Adobe Premiere Pro:
- Import your MP4 file into your project.
- Go to the ‘Window’ menu and select ‘Captions’ to view the captions panel.
- Click on the ‘Import’ button in the captions panel and choose your subtitle file.
- Drag the imported captions onto your video timeline and align them with your video.

Step 4: Export Your Video
Once your subtitles are in place and synced with your audio, you’ll need to export your video. Make sure to select a format that supports embedded subtitles. Most video editing software provides an option to burn in the subtitles or embed them as a separate track.
Indeed, manually synchronizing subtitles to video using traditional software can be accurate but time-consuming and potentially costly in terms of human resources. However, employing a tool like Zeemo to add subtitles to MP4 videos can offer significant convenience.
By automating the synchronization of text with audio, Zeemo not only saves valuable time but also minimizes the potential for human error, ensuring that your subtitles are both precise and professional. With Zeemo, you can focus on the creative aspects of video production, confident that your subtitles will be handled efficiently and effortlessly.
Zeemo currently supports a 20-minute free trial per user. You can use this time to experience how to add subtitles to MP4 video online for free. Try it now!
What Are the Best Practices for Adding Subtitles?
Ensuring subtitle accuracy and synchronization
Accuracy and timing are crucial for subtitles. They should match the spoken words exactly. Use tools like subtitle editing software to fine-tune the timing. If the subtitles lag or appear too early, viewers may find it hard to follow.
- Check for spelling and grammar errors: These can distract viewers and reduce the professionalism of your video.
- Sync subtitles with speech: Each subtitle should appear exactly when the words are spoken. Even a half-second delay can confuse viewers.
Choosing readable fonts and appropriate sizes
The font and size of your subtitles can make a big difference. You want your subtitles to be readable without distracting from the video itself.
- Opt for simple fonts: Fonts like Arial, Verdana, or Helvetica are easy to read on screens.
- Adjust the size: The text should be large enough to read but not so large that it takes over the screen. Sizes between 22pt and 26pt usually work well for most screens.
- Test readability: Always preview your video on different devices to ensure the text is clear.
Positioning subtitles to avoid screen clutter
Proper positioning ensures that subtitles don’t interfere with important visuals. They should complement the video, not obstruct it.
- Place subtitles at the bottom center: This is the most common and least intrusive position.
- Avoid covering important visuals: If there are lower-third graphics or text, move the subtitles slightly higher.
- Use background shading: A semi-transparent background behind the text can enhance readability without blocking the video.
Adhering to accessibility guidelines
Accessibility is key for reaching a wider audience, including those with hearing impairments.
- Include descriptions of sounds: For closed captions, describe non-dialogue audio like [applause] or [door creaks].
- Maintain a high contrast ratio: Use white text with a black outline or a semi-transparent black box to ensure the text stands out against the video.
By following these best practices, you ensure your subtitles enhance your video content and make it accessible to a broader audience.
Tips for maintaining subtitle quality during video export
Exporting your video can sometimes degrade subtitle quality, making it hard to read.
- Maintain high resolution: Export your video at the highest resolution possible to keep subtitles sharp.
- Avoid compression: Excessive compression can blur subtitles. Use minimal compression settings during export.
- Test exports: Export short segments of your video first to check subtitle quality before exporting the entire video.
By following these best practices, you ensure your subtitles enhance your video content and make it accessible to a broader audience.


